Jack Daniels Chicken Strips
This post may contain affiliate links.
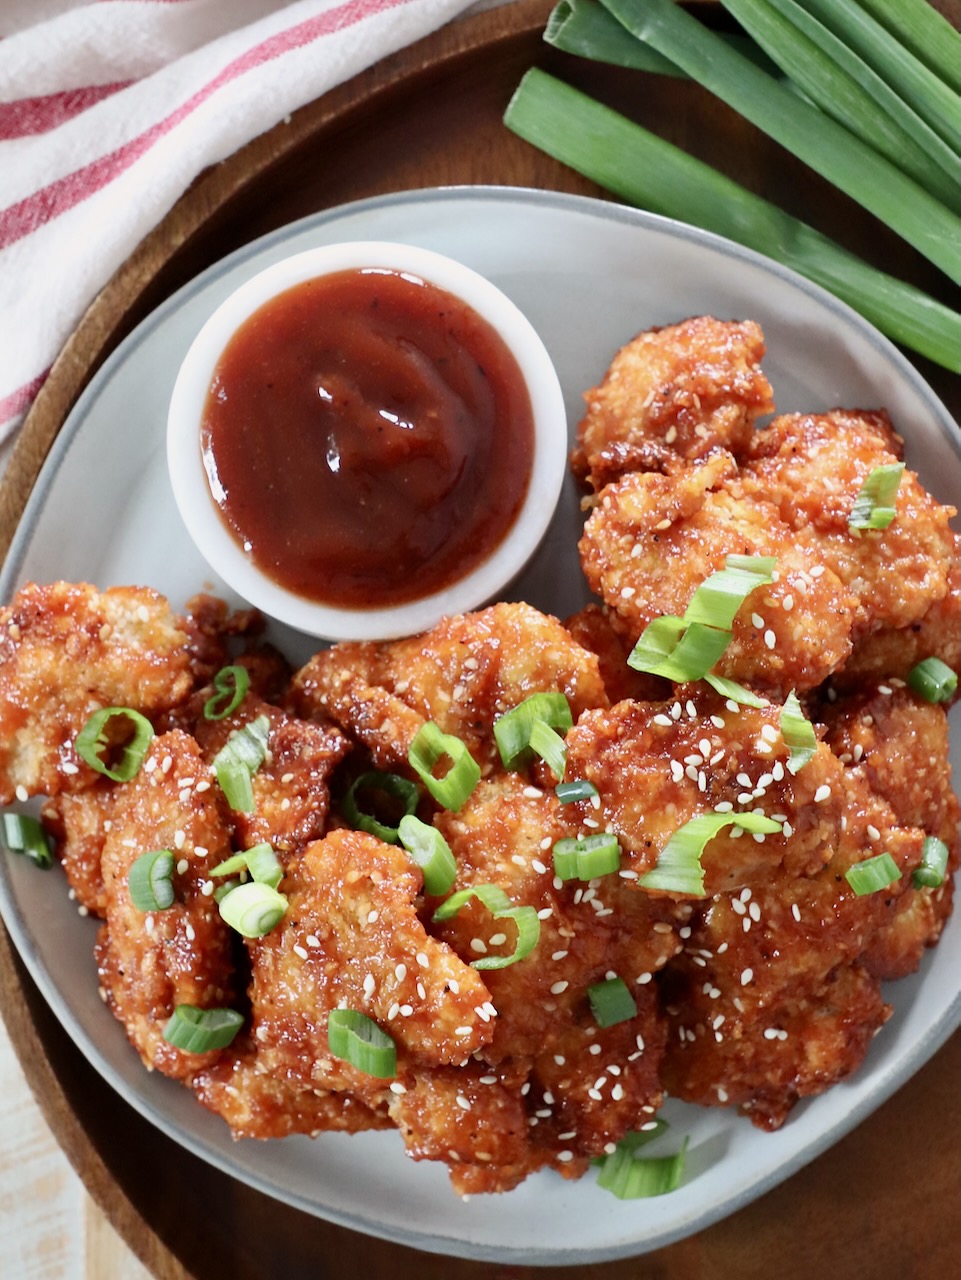
These Jack Daniels Chicken Strips are a delicious copycat recipe from TGI Fridays! They’re made with panko sesame crusted chicken strips, tossed in a mouthwatering whiskey bbq glaze. For this recipe, you can cook the chicken in an air fryer, pan fry it on the stove, or bake it in the oven. Once it’s perfectly crispy, toss it in the signature whiskey glaze for an incredibly flavorful appetizer or party dish!
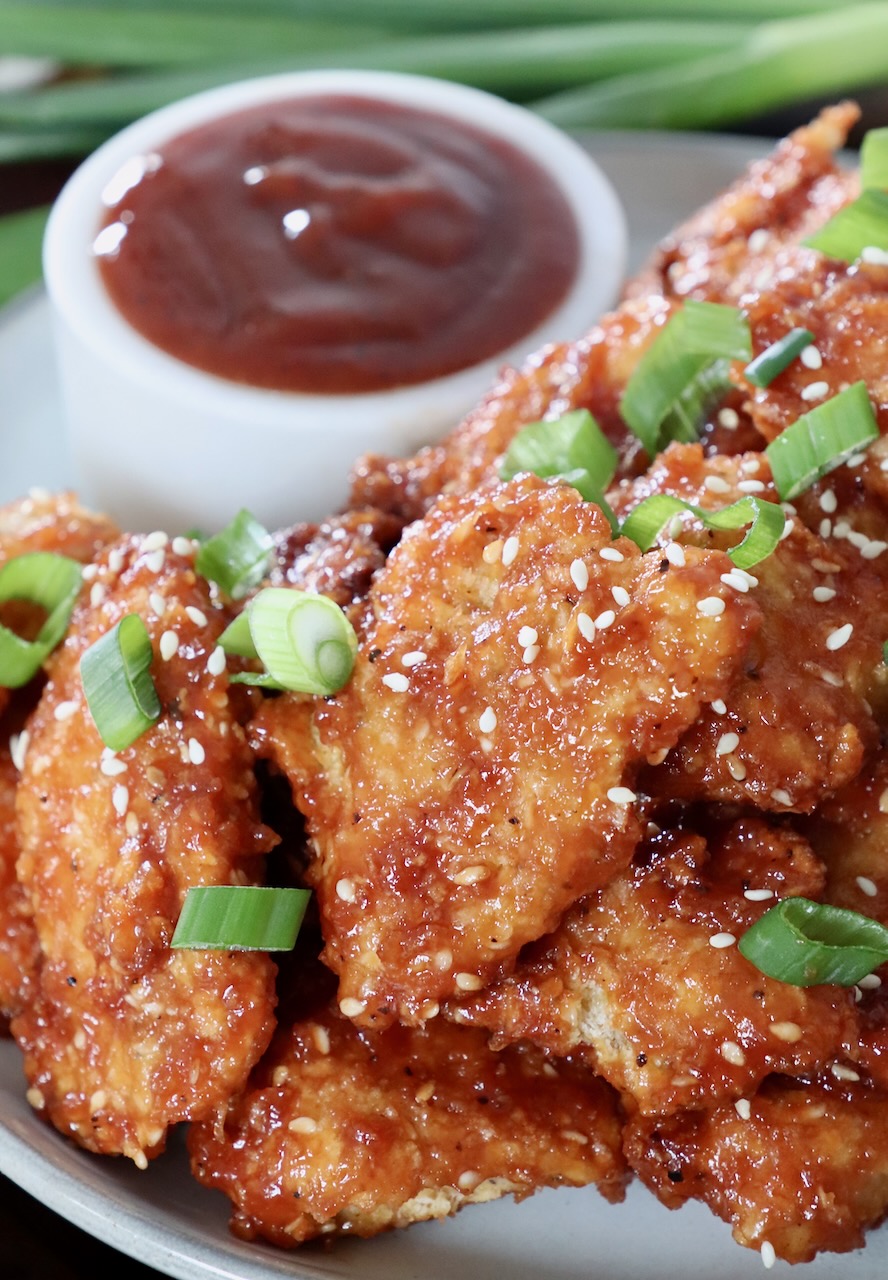
Table of contents
In my 20’s, I ate these Jack Daniel’s Chicken Strips at TGI Friday’s more than I care to admit! What can I say, the chicken is deliciously crispy and the sauce is perfectly sticky sweet. It’s a winning combination!
After perfecting my recipe for boneless wings, I thought about these chicken strips from my past, and decided that I had to recreate them at home! I started by making the perfect copycat Jack Daniel’s BBQ Sauce. It’s mostly sweet, with a hint of spice and smoky flavors. And it’s so delicious!
For the sesame chicken strips, I cooked them in the air fryer for this post, but I’ve also made this recipe with pan fried chicken and oven baked chicken. No matter which method you use, I promise that you’ll get perfectly crispy chicken that’s absolutely scrumptious when tossed in the sticky sweet whiskey glaze, and tastes just like the T.G.I. Fridays version from your past!
This recipe is delicious as a party appetizer, or pair the sesame jack chicken strips with cooked white rice or brown rice to make it a meal! You can make the sauce ahead of time, then toss this recipe together in just over 30 minutes for a delicious snack or meal!
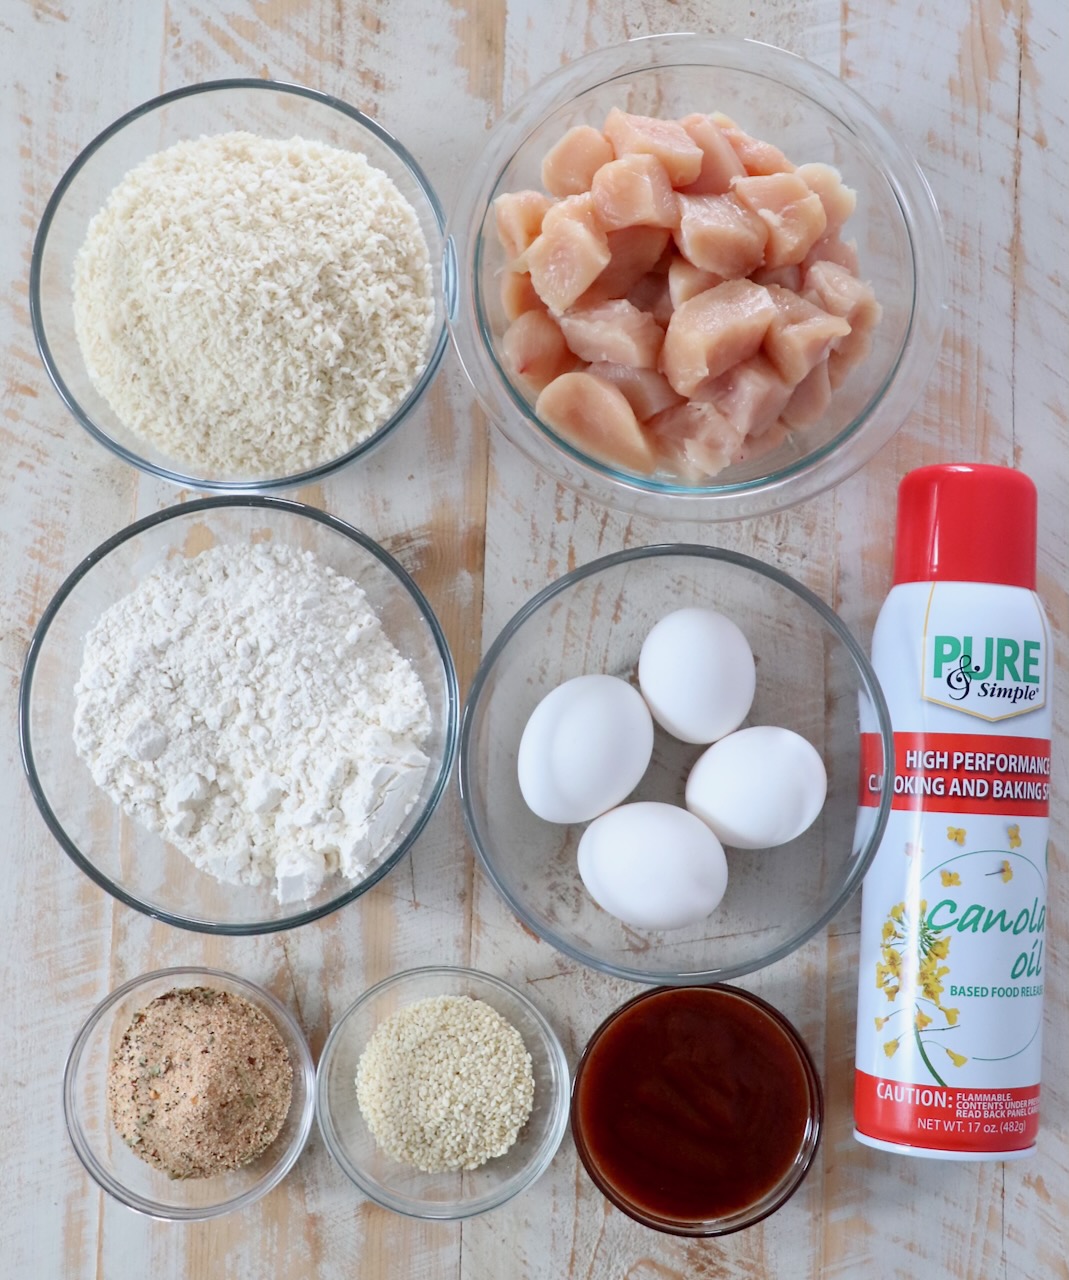
Ingredients
- Boneless, skinless chicken breasts – for this recipe, you’ll want to cut the chicken breasts into 1 inch pieces. I promise, once they’re battered, they’ll come out more like short strips than nuggets.
- Eggs – you’ll need 4 large eggs to make the egg wash to bread the chicken strips.
- All-purpose flour – for breading the chicken strips.
- Chicken seasoning – the SECRET INGREDIENT that makes these better than any other chicken strips you’ve ever had! Click the link above to whip up this simple 7 ingredient seasoning mix that adds so much flavor to the chicken. The combination of dried parsley, salt, garlic powder, onion powder, paprika and black pepper is perfect for this recipe!
- Panko breadcrumbs – to bread the chicken strips and give them an extra crispy texture.
- Sesame seeds – to combine with the breadcrumbs for the crispy, sesame breading, and to top the chicken strips at the end.
- Cooking spray – if air frying or baking the chicken strips, I always recommend spraying them with cooking spray first, so they get brown and crispy on the outside. If pan frying the chicken strips, you’ll need 1 cup (or more) canola oil or vegetable oil. The section below on how to pan fry the chicken will go into more detail on this.
- Jack Daniel’s BBQ Sauce – click the link for my homemade whiskey bbq sauce recipe. It’s what makes these Jack Daniel’s Chicken Strips, and not just any ol’ chicken strips! The sauce is easy to make and can be stored in the fridge for up to 2 weeks, so you can make it ahead of time. The combination of honey, brown sugar, Jack Daniel’s whiskey and ketchup makes this sauce sticky sweet and delicious!
Instructions
I’ve included step by step photos below to make this recipe easy to follow at home. For the full detailed recipe instructions and ingredient quantities, scroll to the recipe card at the bottom of this post.
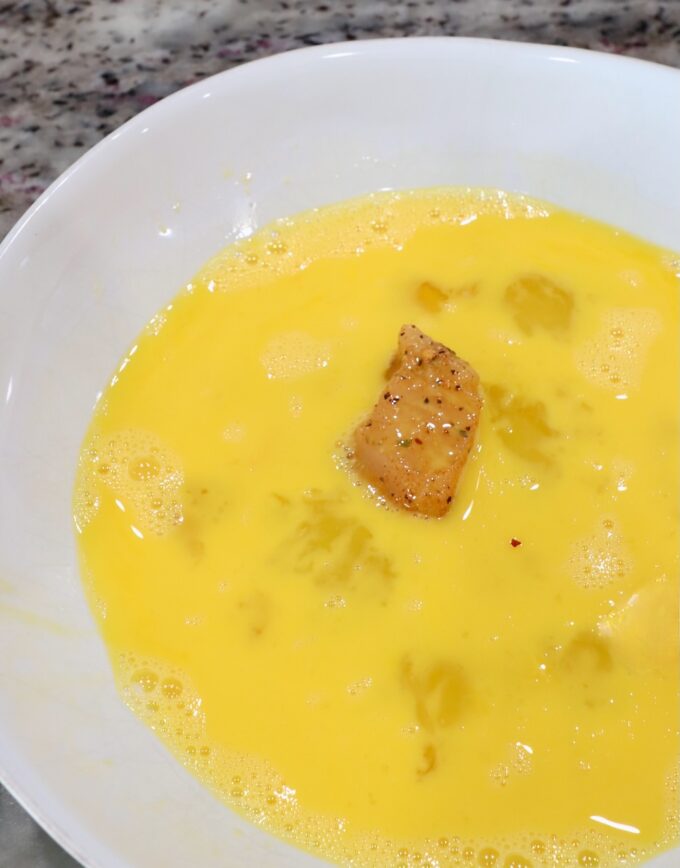
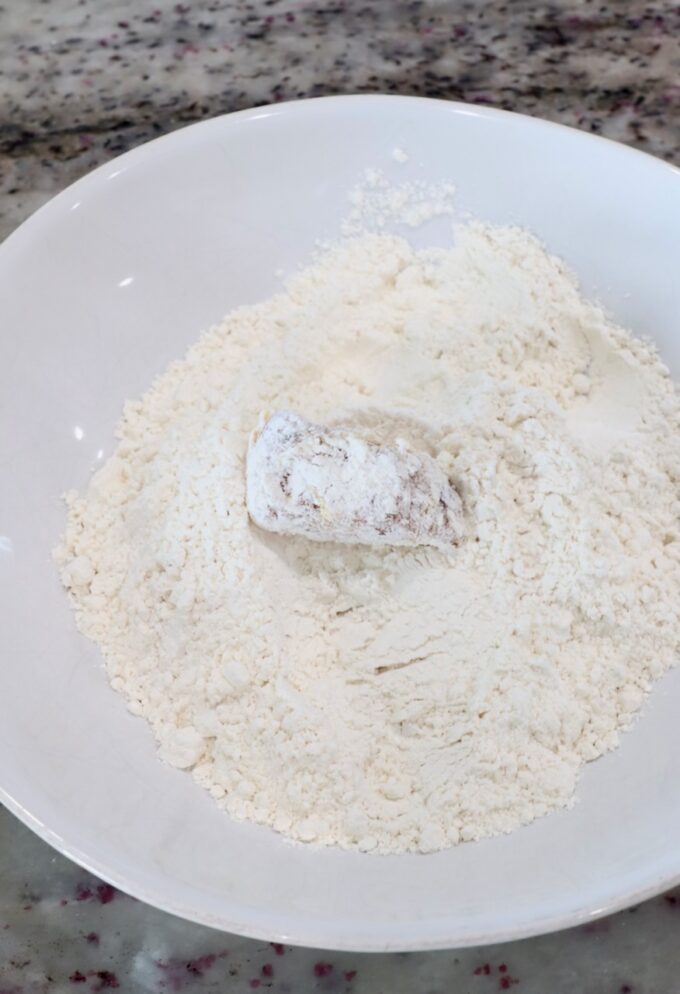
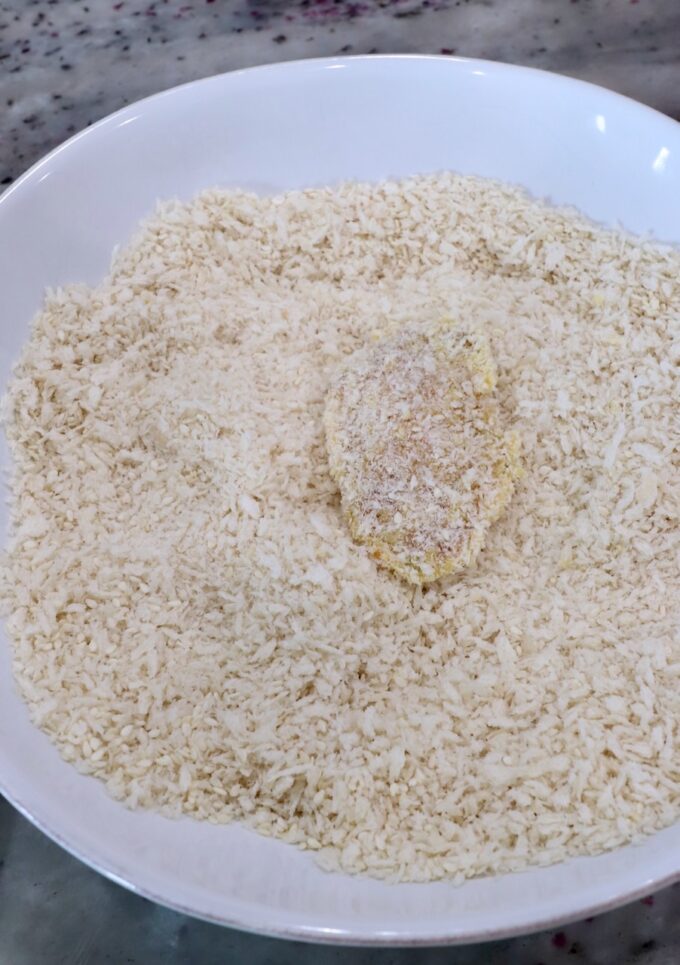
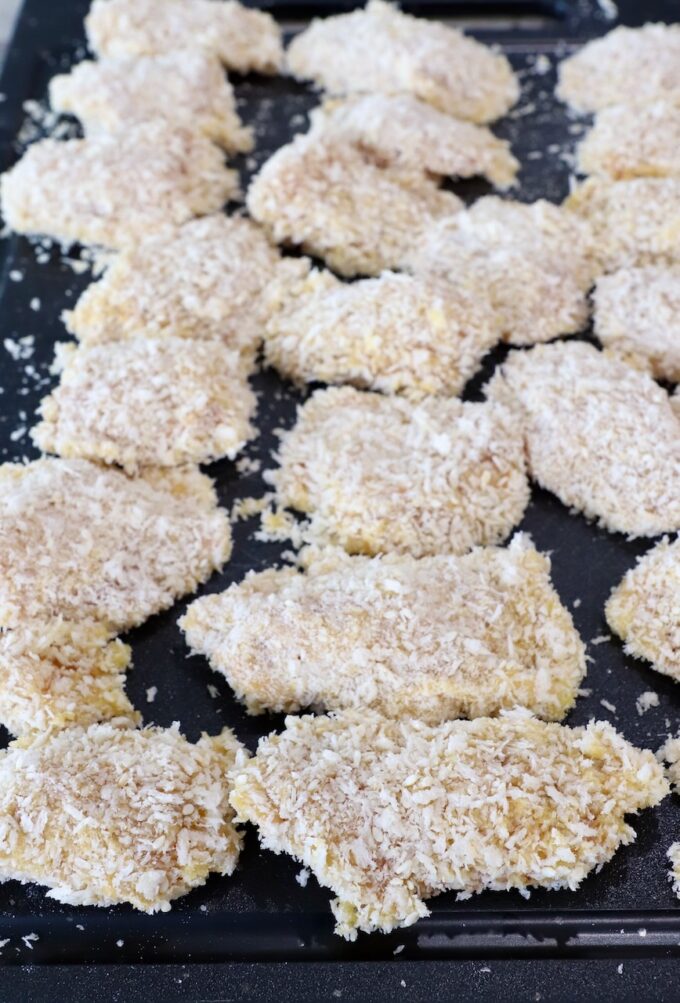
Bread the chicken
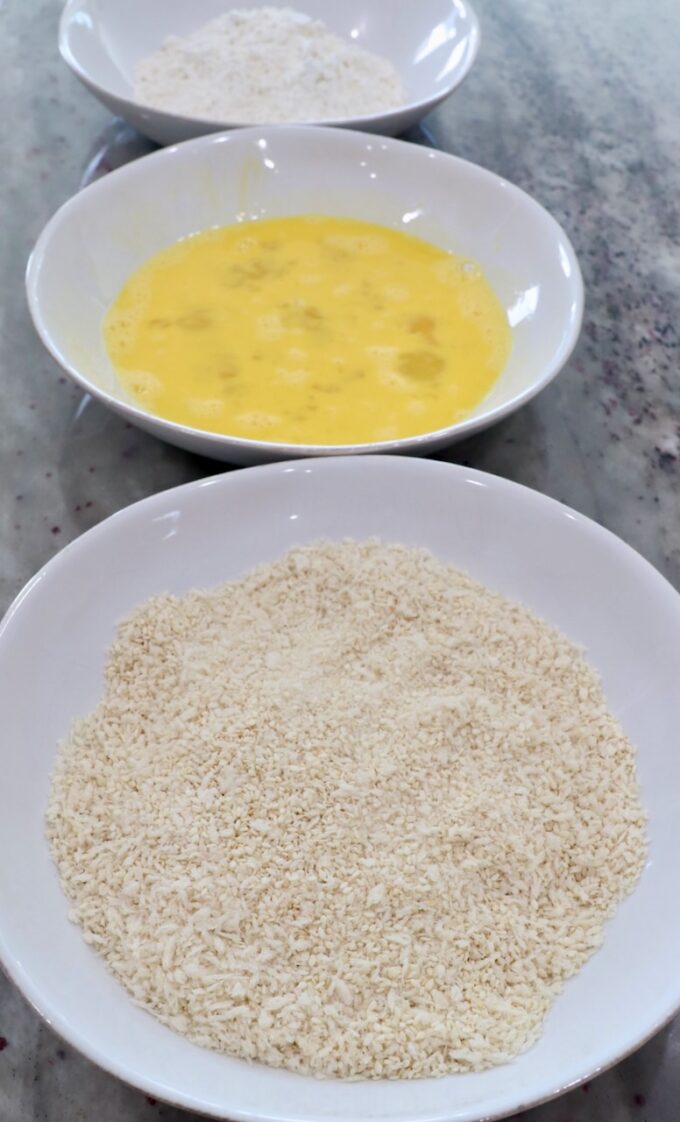
- Prepare the breading station. Whisk 4 large eggs in a shallow bowl. In another shallow bowl, add all purpose flour. In the final shallow bowl, stir the panko breadcrumbs with sesame seeds.
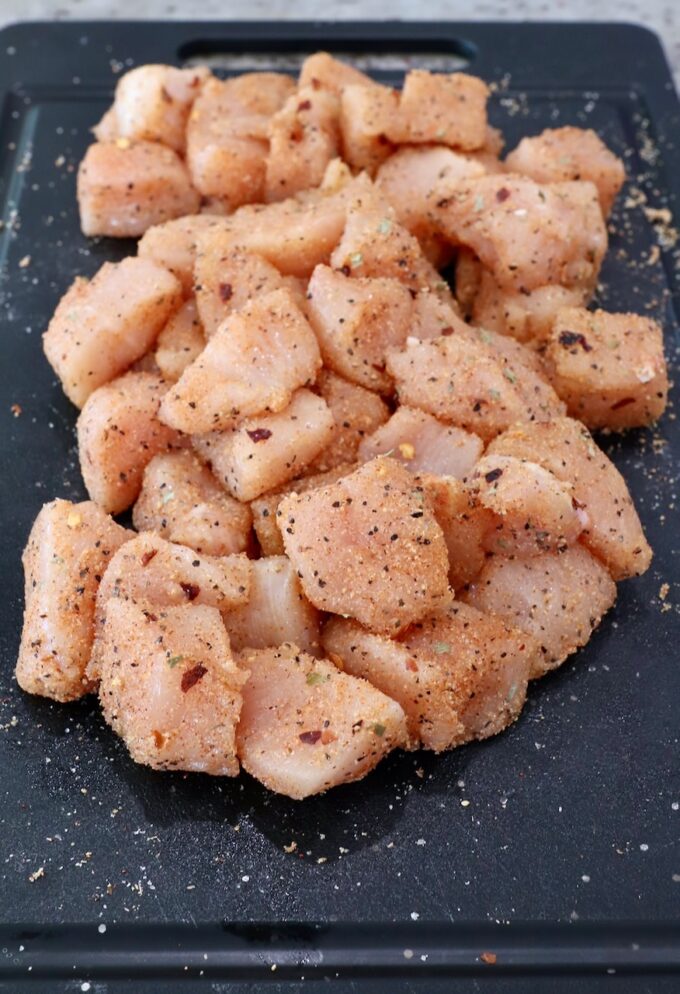
- Season the chicken. Cut the boneless skinless chicken breasts into approximately 1 inch cubes. Toss the cubes of chicken with the chicken seasoning, until they’re fully covered.
- Bread the chicken. Start by placing each piece of seasoned chicken in the egg mixture. Once it’s fully covered in the egg, allow any excess to drip off before transferring the chicken to the bowl of flour. Cover the chicken completely in the flour, then add it back to the bowl of whisked eggs. Once fully covered in the egg again, dip the chicken in the breadcrumbs, pressing down slightly on all sides to make sure the chicken is fully covered in the breadcrumbs. Transfer the breaded chicken to a cutting board, then repeat with all of the remaining pieces of chicken.
Air fry the chicken
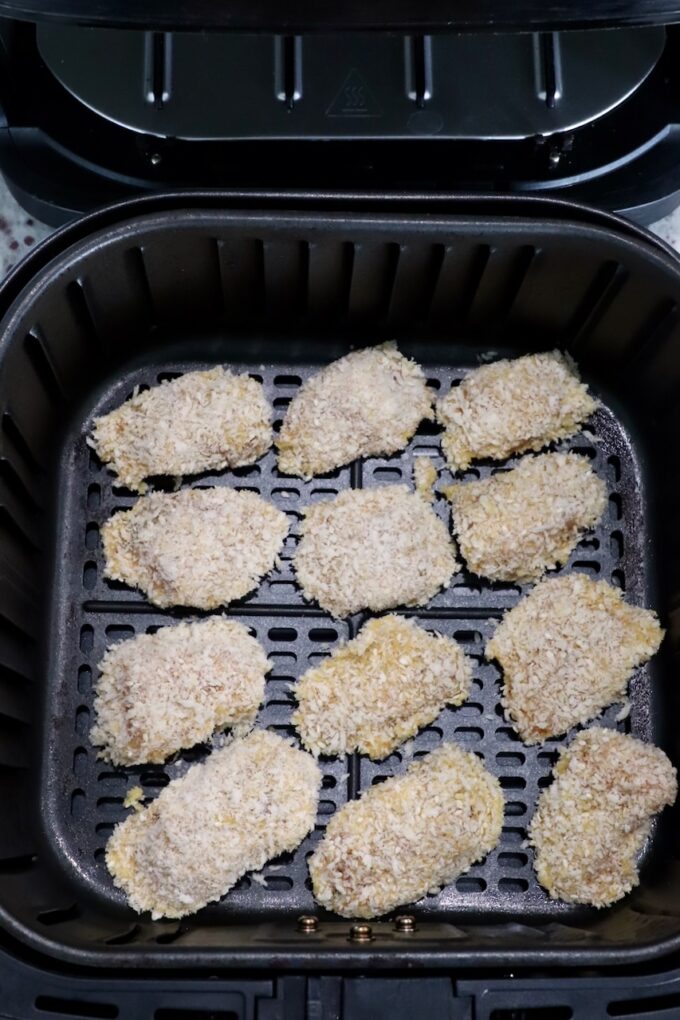
- Add the breaded chicken strips to an air fryer basket, making sure there’s room around each piece of chicken for the air to circulate.
- Spray the chicken strips with cooking spray, then cook at 400°F for 4 minutes.
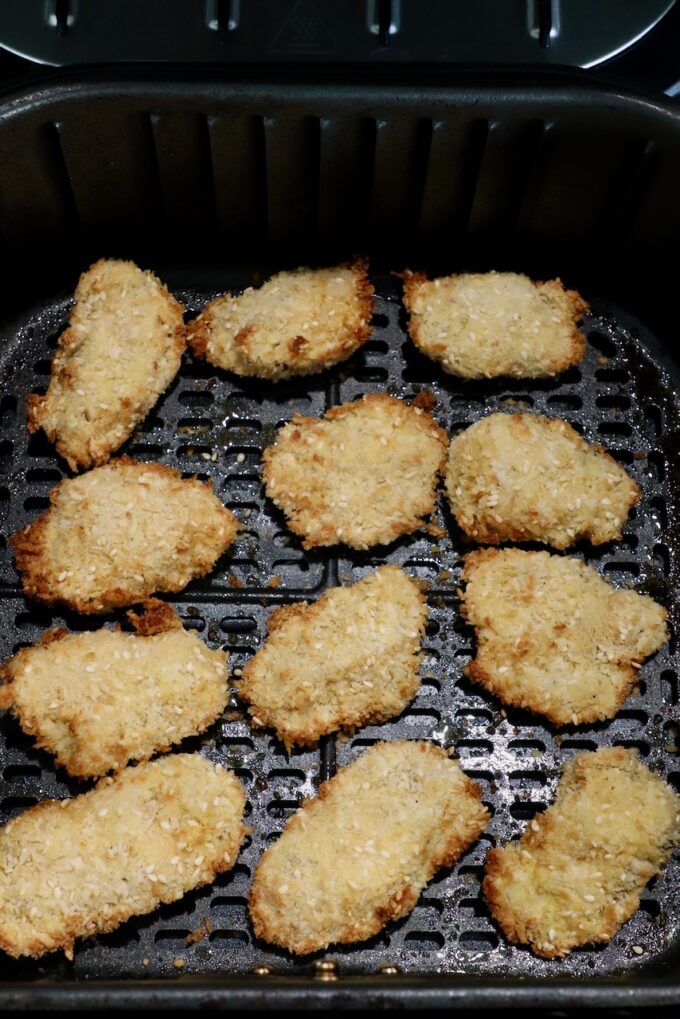
- Open the air fryer, flip the chicken, spray with cooking spray and cook for an additional 4 minutes.
- Remove the chicken from the air fryer and place it on a wire rack while cooking the rest of the chicken strips in the air fryer.
Sauce the chicken
- Once you’ve cooked all of the chicken, place the chicken strips in a large bowl.
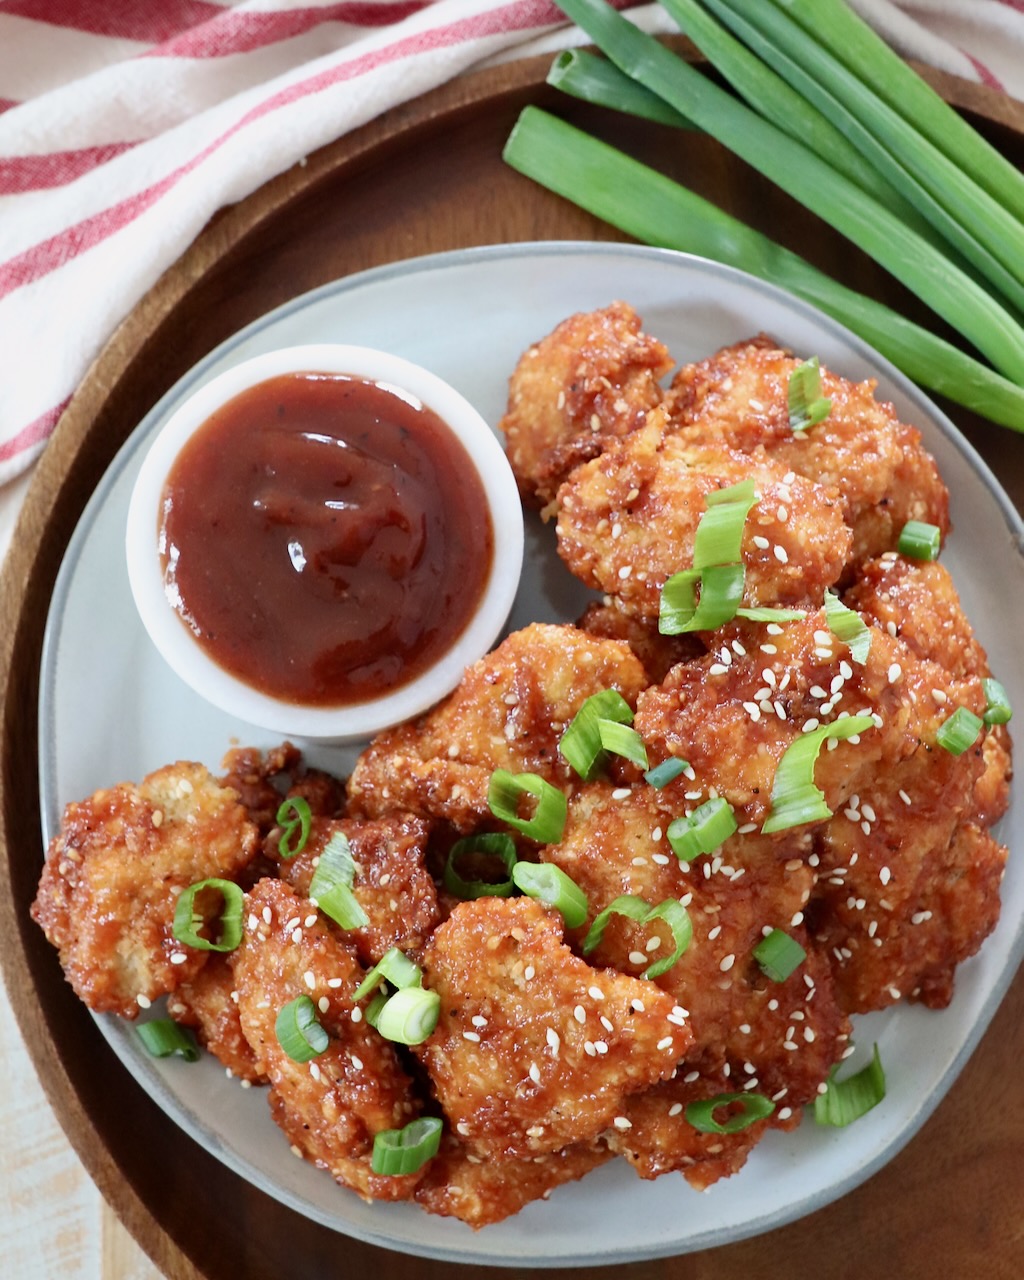
- Make sure the Jack Daniel’s bbq sauce is warm, or room temperature. Pour it over the chicken strips and use tongs to gently toss the chicken strips in the sauce, until they’re fully covered.
Do not sauce the chicken strips until you’re ready to eat them. Once you sauce the chicken, you should eat them immediately or the strips will get soggy, and lose their deliciously crispy texture.
How to cook the chicken in the oven
If you don’t have an air fryer, you can also bake the chicken in the oven.
- Preheat the oven to 425°F. If your oven has a convection setting, I recommend using that.
- Place the pieces of breaded chicken on a wire rack, on top of a foil-lined baking sheet. Spray with cooking spray.
- Bake in the preheated oven for 12-15 minutes, or until they’re golden brown. Because you’re cooking them on a wire rack, you don’t need to flip them throughout the cooking process. If you’re cooking them directly on a baking sheet, I recommend flipping them halfway through the cooking time.
- Once all of the chicken is cooked, follow the instructions above for tossing the chicken with the sauce before serving.
How to pan fry the chicken
If you prefer fried chicken strips, you can either deep fry them if you have a deep fryer at home, or pan fry them. To pan fry them, follow these instructions.
- Add enough canola oil (or vegetable oil) to a large skillet, so that you have 1/2 inch of oil in the bottom of the pan. The amount of oil will vary depending on how large of a pan you’re using. I recommend starting with 1 cup of oil, then adding more if needed.
- Place the pan of oil on the stove over medium-high heat.
- Once the oil is hot, add the chicken pieces in batches, making sure there’s room around each piece of chicken. If you overcrowd the pan with chicken, it won’t cook properly and get crispy on the outside.
- Fry the chicken for 3-4 minutes per side.
- Use a slotted spoon to remove the chicken strips from the oil when they’re golden brown and transfer them to a wire rack, with paper towels underneath the rack. This will allow any excess oil to drip off the pieces of chicken through the wire rack, and will keep the chicken nice and crispy while you pan fry the remaining batches of chicken.
- Once you’ve cooked all of the chicken, follow the instructions above for tossing the chicken with the sauce before serving.
Recipe tips
- When breading chicken, always use one hand for the wet ingredients and one hand for the dry ingredients. This will prevent clumping, keep your hands from becoming coated in the breading, and it will help keep the breading ingredients separated. My Dad taught me this trick growing up, making his famous Captain Crunch Fried Chicken together!
- Do not toss the chicken in the sauce until you’re ready to eat it! If you plan to eat the chicken in batches, just toss however much you want to eat in the sauce, and save the rest for later. After you toss the chicken in the sauce, you need to eat it quickly, or it will loose it’s wonderfully crispy texture!
- Do not toss the cooked chicken strips with cold sauce. That will cool down the chicken. Instead, either place the Jack Daniels sauce on the counter before you start this recipe to warm it up to room temperature, or microwave the sauce for 30 seconds before tossing it with the chicken strips.
- To make gluten free Jack Daniel’s Chicken Strips, replace the all-purpose flour with a gluten-free flour blend, or rice flour. Use gluten-free panko bread crumbs, instead of traditional panko. The homemade bbq sauce is gluten free. Refer to the blog post for more details.
How to serve the chicken
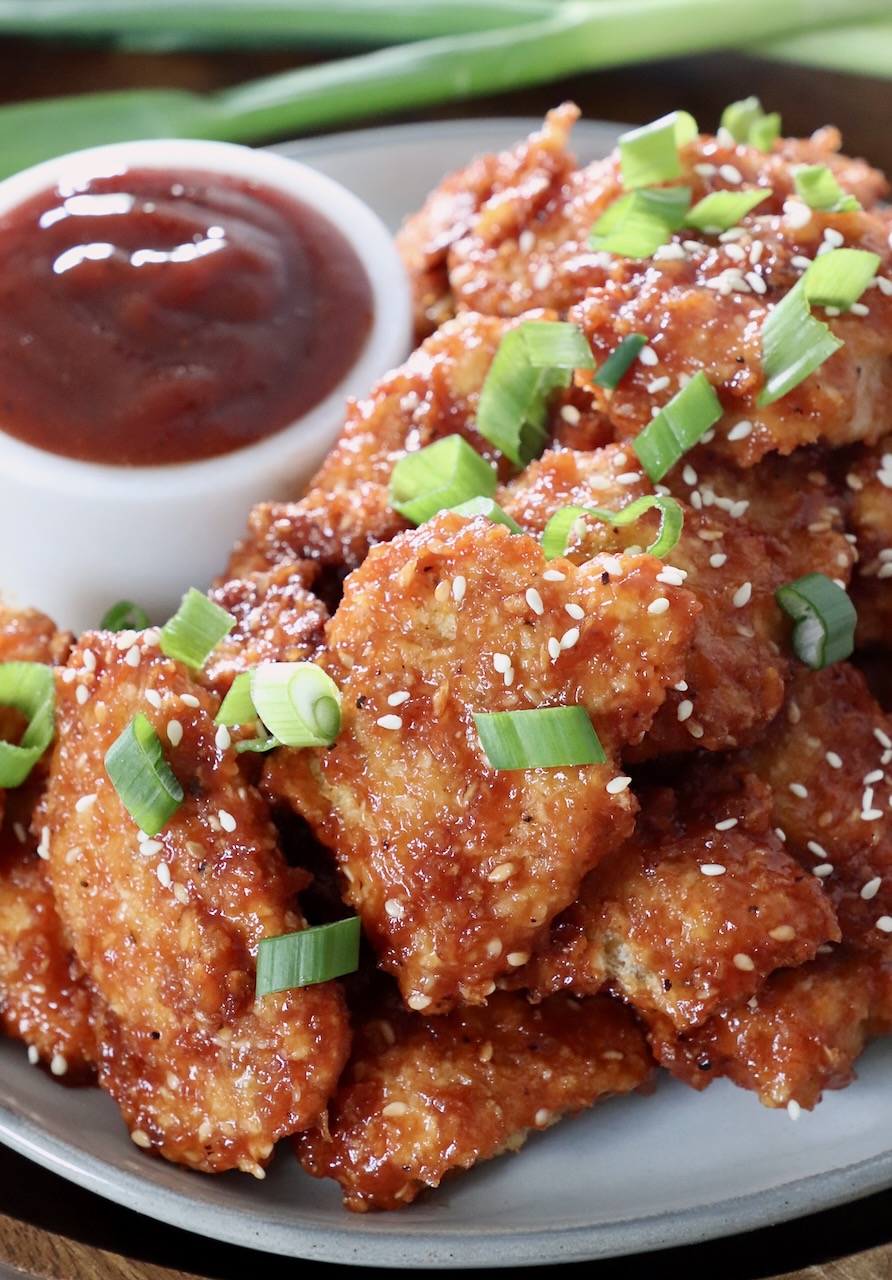
These Jack Daniel’s Chicken Strips are delicious topped with diced green onions and sesame seeds for an awesome party, or game day, appetizer!
If you want to serve the chicken strips as a meal, try any of these ideas.
- With cooked white rice
- With cooked brown rice
- Make lettuce wraps with iceberg lettuce leaves.
- Make sliders by placing the chicken strips on Hawaiian rolls with coleslaw.
- With Air Fryer French Fries
- With Mashed Potatoes
Storage and reheating
This recipe makes approximately 4 dozen chicken strips. Battered, uncooked chicken strips can be stored in a freezer-safe container in the freezer for up to 3 months.
You can cook the frozen chicken strips directly from frozen in the air fryer or oven. In the air fryer, add 2 minutes to the cooking time. So the chicken strips will need to cook for 5 minutes per side at 400°F.
If cooking them in the oven, add 2 minutes to the cooking time, for a total of 14 minutes at 425°F.
Cooked chicken strips (that have not been sauced) can be stored in the refrigerator for up to 5 days in an airtight container. Reheat them in the air fryer at 400°F for 2-3 minutes to keep them crispy, or in the oven at 425°F for 4-5 minutes.
I do not recommend microwaving leftover cooked chicken strips, as they’ll lose their crispy texture. I also don’t recommend saving any sauced chicken strips, for the same reason. Once you sauce the chicken strips, you should eat them immediately.
More copycat recipes
Try these other recipes from some of your favorite restaurants, right at home in your own kitchen!
Jack Daniel’s Chicken Strips
Ingredients
- 4 large eggs, whisked
- 1 cup all-purpose flour
- 3 cups panko breadcrumbs
- 2 tablespoons sesame seeds
- 1 ½ pounds boneless, skinless chicken breasts, cut into 1 inch pieces
- 3 tablespoons chicken seasoning, click link for the recipe
- cooking spray
- 1 cup Jack Daniels BBQ Sauce, click link for the recipe
Instructions
Bread the chicken.
- Whisk 4 large eggs in a shallow bowl.
- In another shallow bowl, add the all-purpose flour.
- In a third large shallow bowl, combine the panko breadcrumbs and sesame seeds.
- Cut the chicken breasts into approximately 1 inch cubes.
- Toss the cubes of chicken with the chicken seasoning, until they’re fully covered.
- Place each piece of seasoned chicken in the egg wash.
- Once it’s fully covered in the egg, allow any excess to drip off before transferring the chicken to the bowl of flour.
- Cover the chicken completely in the flour, then add it back to the bowl of whisked eggs.
- Once fully covered in the egg again, dip the chicken in the sesame breadcrumbs, pressing down slightly on all sides to make sure the chicken is fully covered in the breadcrumbs.
- Transfer the breaded chicken to a cutting board, then repeat with all of the remaining pieces of chicken.
- Once all of the chicken is breaded, either air fry, oven bake, or pan fry the chicken.
Air fry the chicken.
- Add the breaded chicken strips to an air fryer basket, making sure there’s room around each piece of chicken for the air to circulate.
- Spray the chicken strips with cooking spray, then cook at 400°F for 4 minutes.
- Open the air fryer, flip the chicken, spray with cooking spray and cook for an additional 4 minutes.
Sauce the chicken.
- After all of the chicken is cooked, place the chicken strips in a large bowl.
- Pour room-temperature, or warm Jack Daniels bbq sauce over the chicken in the bowl and use tongs to gently toss them in the sauce, until they’re fully covered.
- Do not sauce the chicken until you’re ready to eat it. Once sauced, the chicken should be eaten immediately or it will get soggy, and lose it's deliciously crispy texture.
- Serve garnished with sesame seeds and diced green onions, if you'd like.
Notes
- How to bake the chicken in the oven, instead of air frying it:
- Preheat the oven to 425°F. If your oven has a convection setting, I recommend using that.
- Place the pieces of breaded chicken on a wire rack, on top of a foil-lined baking sheet. Spray with cooking spray.
- Bake in the preheated oven for 12-15 minutes, or until they’re golden brown. Because you’re cooking them on a wire rack, you don’t need to flip them throughout the cooking process. If you’re cooking them directly on a baking sheet, I recommend flipping them halfway through the cooking time.
- Once all of the chicken is cooked, follow the instructions above for tossing the chicken with the sauce before serving.
- How to pan fry the chicken, instead of air frying it:
- Add enough canola oil (or vegetable oil) to a large skillet, so that you have 1/2 inch of oil in the bottom of the pan. The amount of oil will vary depending on how large of a pan you’re using. I recommend starting with 1 cup of oil, then adding more if needed.
- Place the pan of oil on the stove over medium-high heat.
- Once the oil is hot, add the chicken pieces in batches, making sure there’s room around each piece of chicken. If you overcrowd the pan with chicken, it won’t cook properly and get crispy on the outside.
- Fry the chicken for 3-4 minutes per side.
- Use a slotted spoon to remove the chicken strips from the oil when they’re golden brown and transfer them to a wire rack, with paper towels underneath the rack. This will allow any excess oil to drip off the pieces of chicken through the wire rack, and will keep the chicken nice and crispy while you pan fry the remaining batches of chicken.
- Once you’ve cooked all of the chicken, follow the instructions above for tossing the chicken with the sauce before serving.
- When breading chicken, always use one hand for the wet ingredients and one hand for the dry ingredients. This will prevent clumping, keep your hands from becoming coated in the breading, and it will help keep the breading ingredients separated.
- Do not toss the chicken in the sauce until you’re ready to eat it! If you plan to eat the chicken in batches, just toss however much you want to eat in the sauce, and save the rest for later. After you toss the chicken in the sauce, you need to eat it quickly, or it will loose it’s wonderfully crispy texture!
- Do not toss the cooked chicken strips with cold sauce. That will cool down the chicken. Instead, either place the Jack Daniels sauce on the counter before you start this recipe to warm it up to room temperature, or microwave the sauce for 30 seconds before tossing it with the chicken strips.
- To make gluten free Jack Daniel’s Chicken Strips, replace the all-purpose flour with a gluten-free flour blend, or rice flour. Use gluten-free panko bread crumbs, instead of traditional panko. The homemade bbq sauce is gluten free. Refer to the blog post for more details.
Nutrition Facts
We are a participant in the Amazon Services LLC Associates Program, an affiliate advertising program designed to provide a means for sites to earn advertising fees by advertising and linking to amazon.com.


