Peanut Brittle
This post may contain affiliate links.
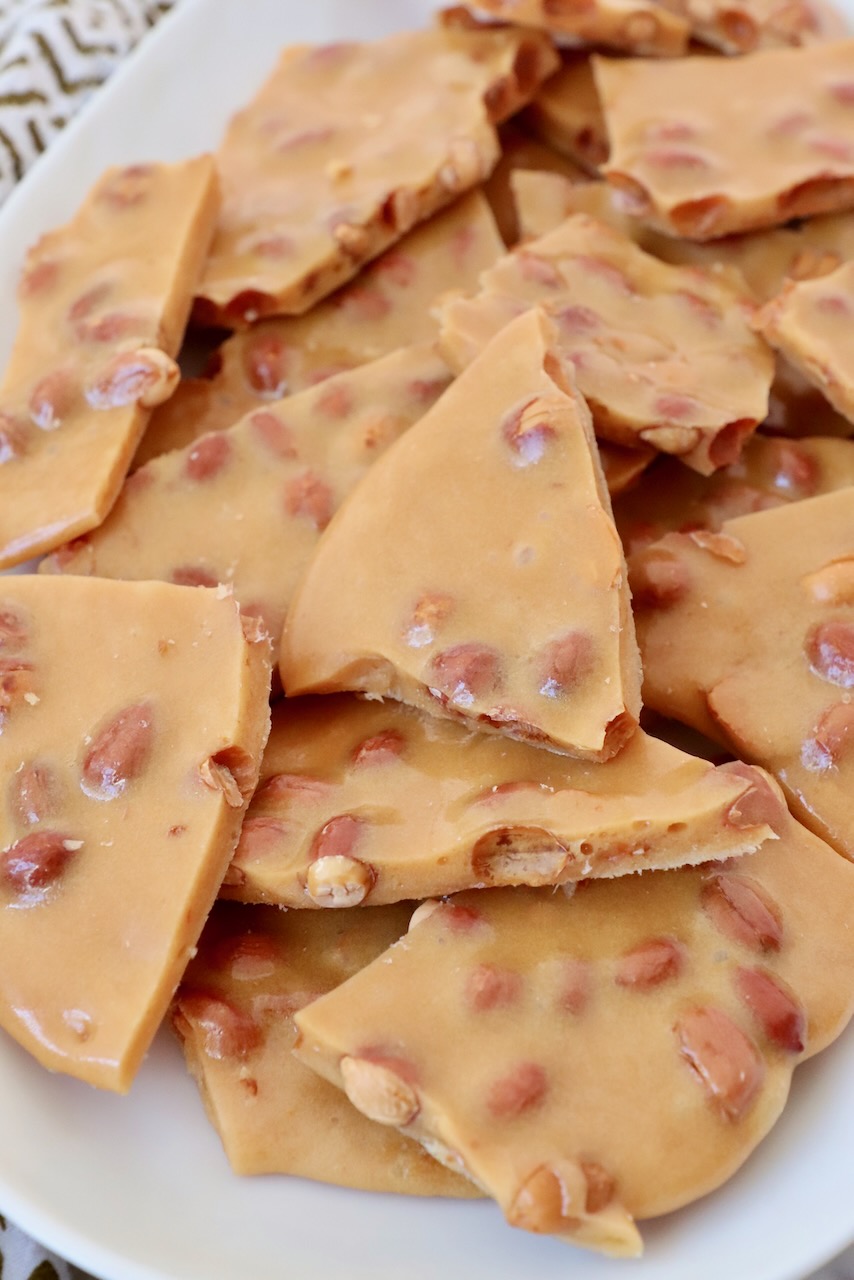
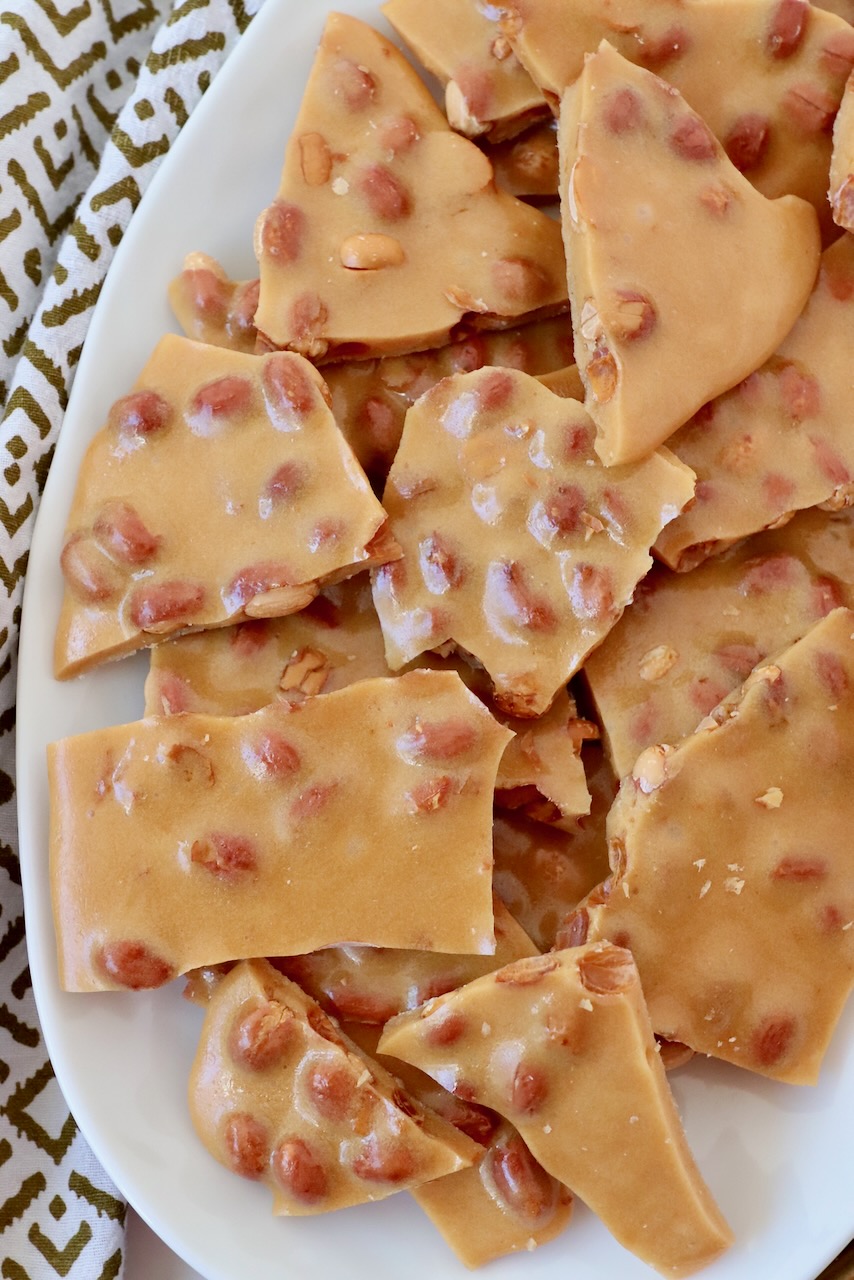
Make the best homemade Peanut Brittle with our family friend Barb’s famous recipe! It’s a classic candy for Christmas, but delicious anytime of the year. It’s easy to make in the microwave and great for gifting around the holidays. Follow Barb’s recipe, plus my tips, to make crunchy, delicious, old-fashioned peanut brittle, that’s perfect every time!
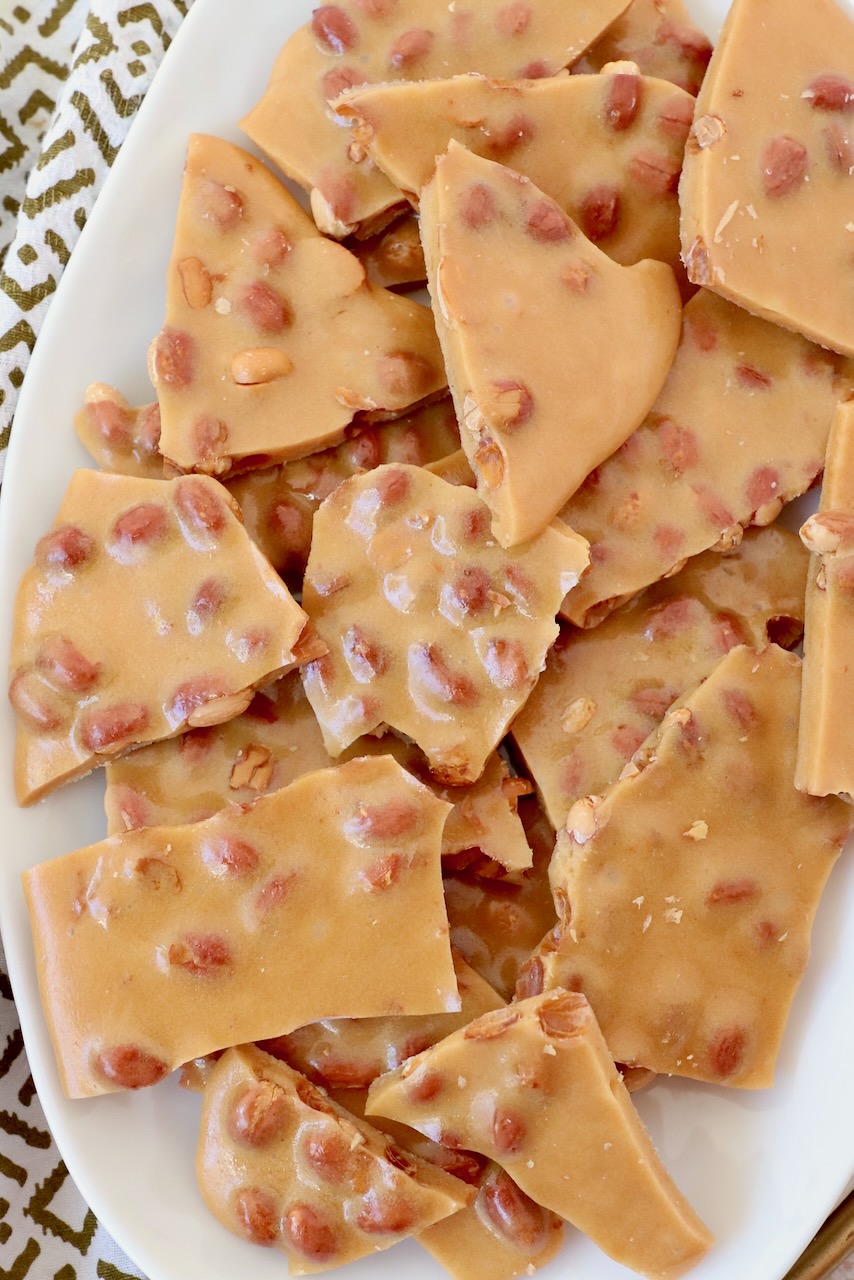
Table of contents
The first Christmas I brought my husband Kurt home to Oklahoma with me, our family friend Barb brought over her famous peanut brittle. Ever since then, she’s been affectionately called “peanut brittle lady” by Kurt, because he said that was the best peanut brittle he had ever had!
After Barb found out how much Kurt loved the peanut brittle, she started bringing two tins of it over at Christmas, one for the family and one for Kurt. Needless to say, she quickly became one of Kurts favorite people!
Last Christmas, I asked her if she would share her recipe with me, so that I could share it with all of you. She was so kind to share it with me and today, I’m so excited to share it with you!
I grew up making my Grandma Meme’s peanut brittle recipe, so I was curious to compare the two after I got my hands on Barb’s recipe. The only difference between the two? Barb adds a stick of butter to her recipe! That’s right, butter really does make everything better!
The flavor of Barb’s peanut brittle is sweet, salty and buttery. This is what really sets it apart from other peanut brittle recipes!
If you’re looking for the perfect peanut brittle recipe to share with your friends, family and neighbors this holiday season, give this recipe a try and thank me and Barb later! Pair it with a baggie of my Nutella Muddy Buddies for the perfect holiday sweet treat gift pairing.
Ingredients
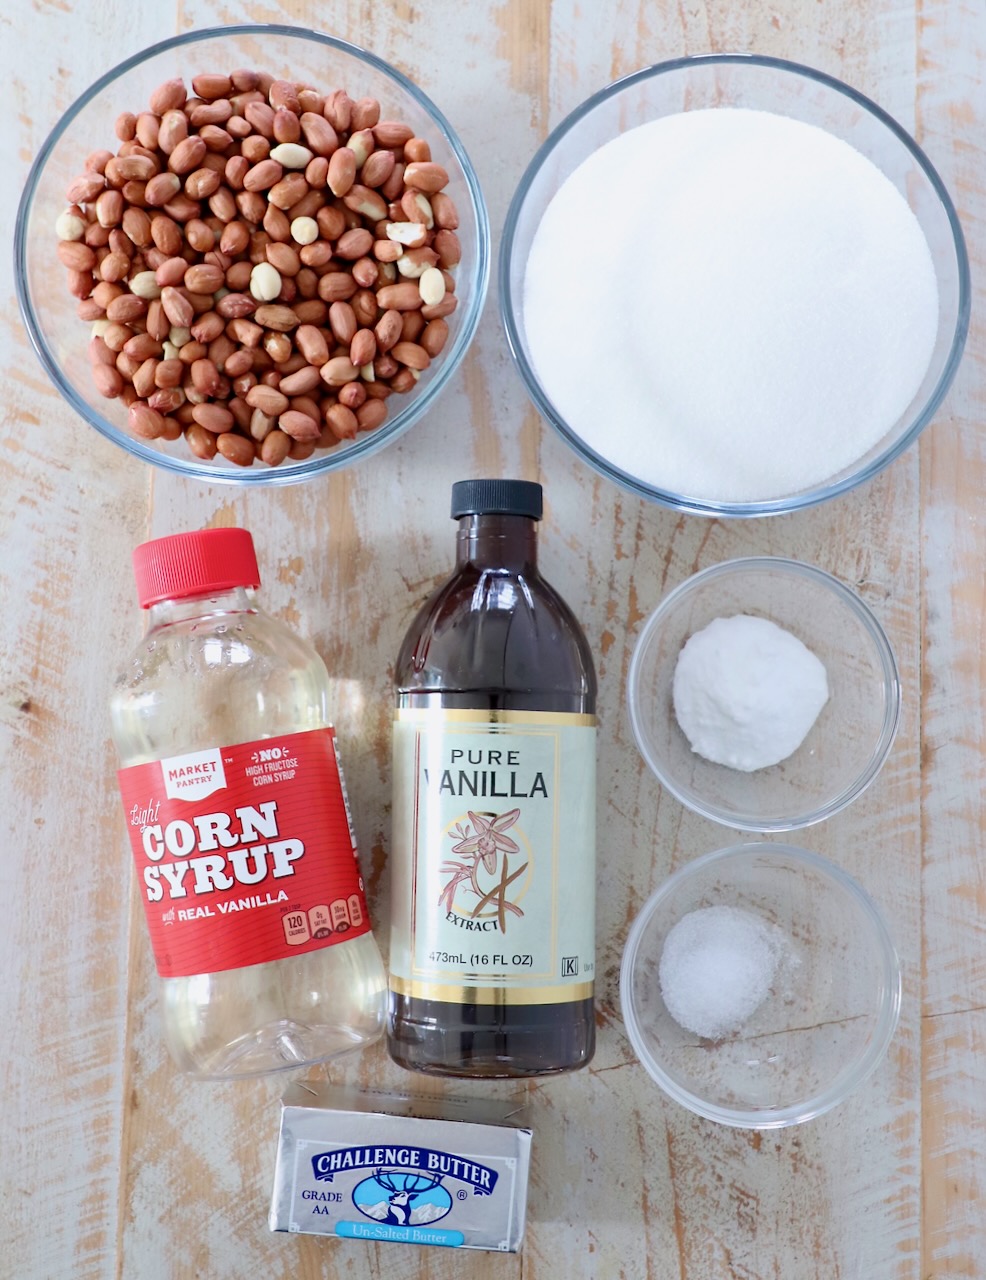
For the full ingredient quantities, scroll to the recipe card at the bottom of this post.
- Raw peanuts – both of the grocery stores around me sold raw peanuts, labeled as “raw Spanish peanuts”, so that’s what I used in this recipe. Any raw (not roasted) shelled peanuts will work in this recipe.
- Light corn syrup – this will be found on the baking aisle at the grocery store. This was referred to as “white syrup” in Barb’s original recipe, and “white corn syrup” in my Grandma’s recipe. Funny how the names of ingredients change throughout the years.
- Granulated sugar
- Salt
- Unsalted butter
- Baking soda
- Vanilla extract
Instructions
I’ve included step by step photos below to make this recipe easy to follow at home. For the full detailed recipe instructions, scroll to the recipe card at the bottom of this post.
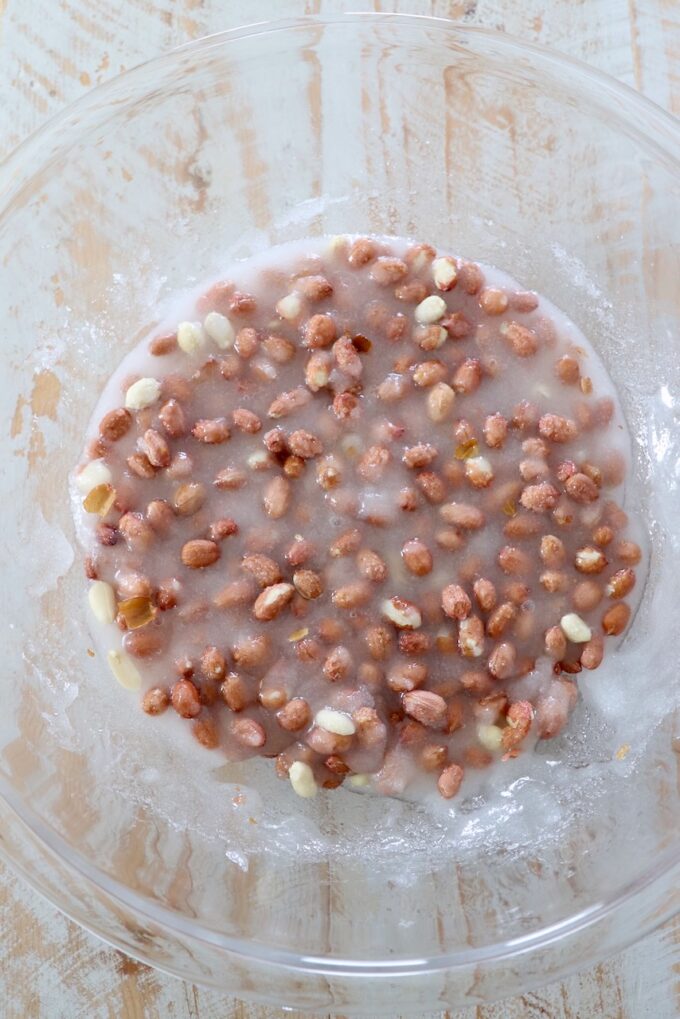
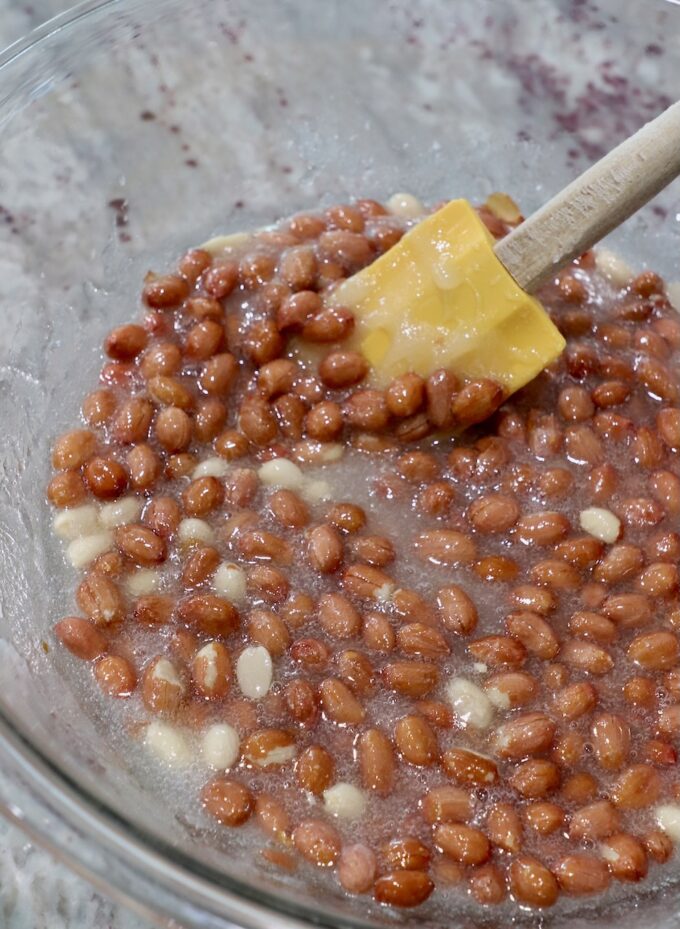
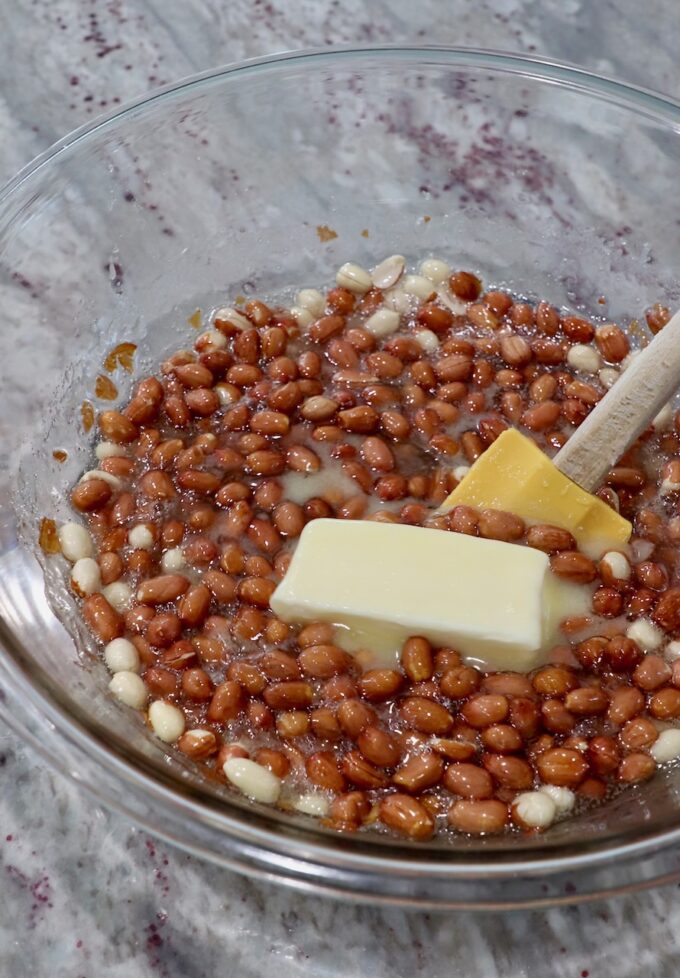
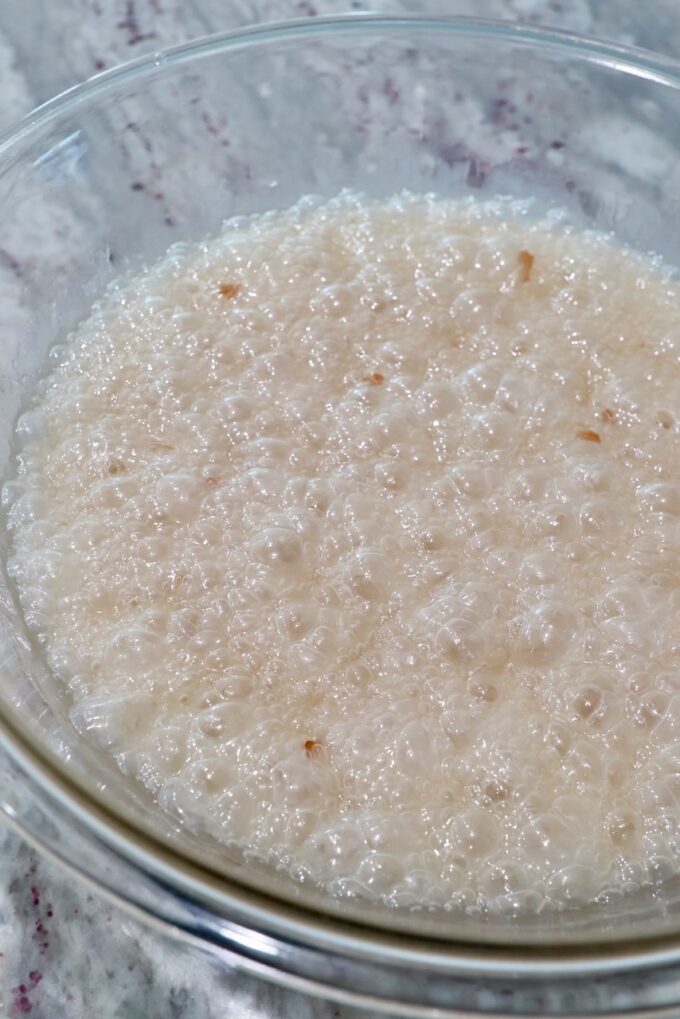
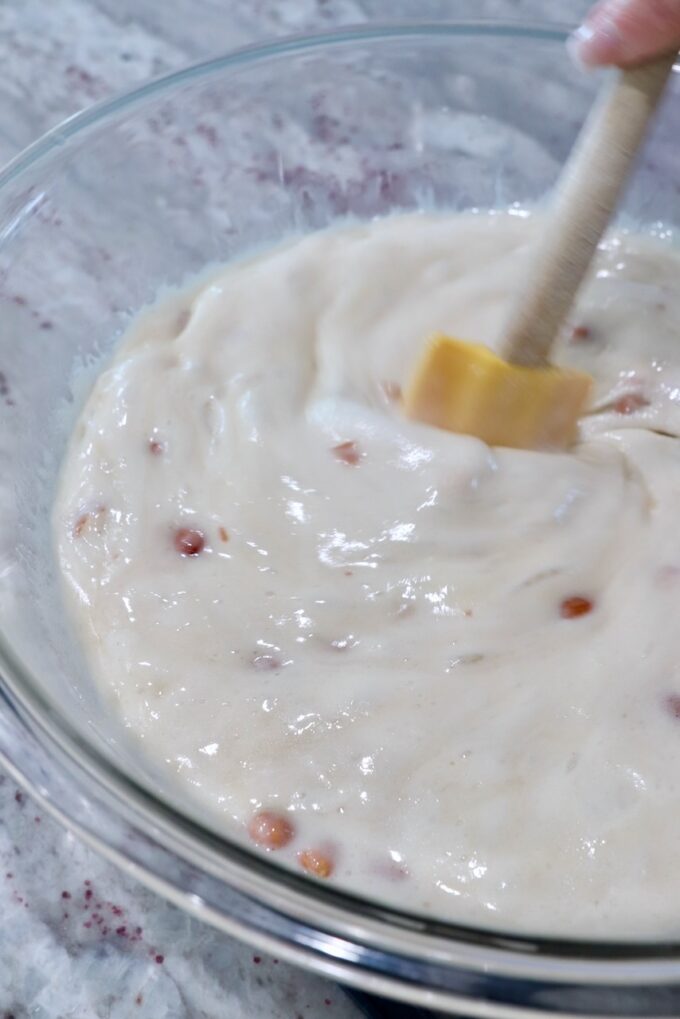
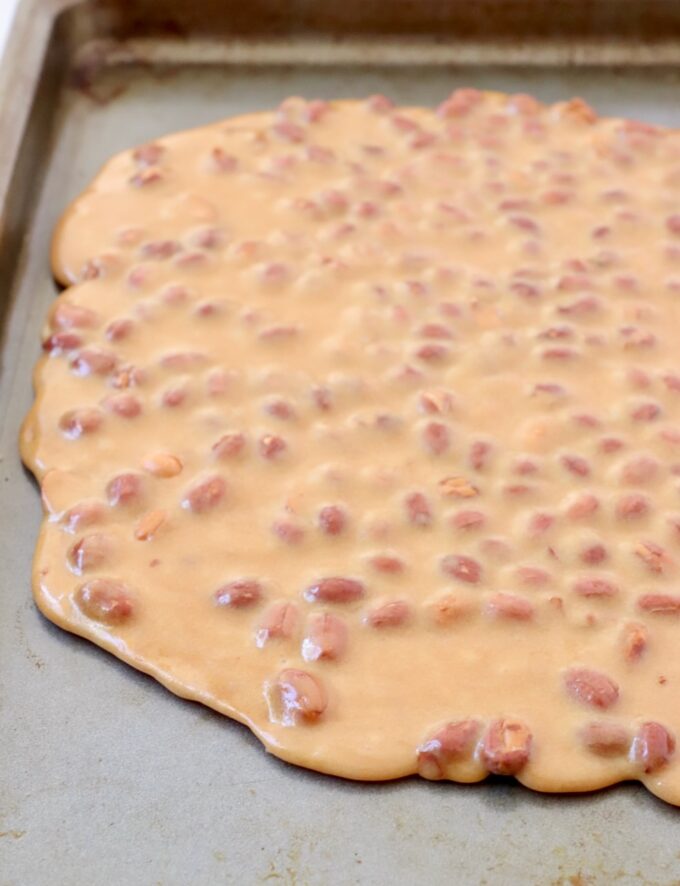
- Combine raw peanuts, light corn syrup, sugar and salt in a large glass bowl.
- Place the bowl in the microwave for 4-8 minutes. Please see my notes below on the microwave times. For Barb’s original recipe, she microwaved the mixture for 4 minutes and 45 seconds, using a 1650 watt microwave. Our microwave is only 900 watts, so it took 8 minutes for me. The section just below this will give you a table to use, based on the wattage of your microwave.
- Remove the bowl from the microwave using oven mitts. (It will be hot!) Stir the mixture with a spatula, then place it back in the microwave for the same amount of time as the first time around. Once again, this will vary based on the wattage of your microwave. For my 900 watt microwave, this was 8 minutes.
- Remove the bowl from the microwave again, add the butter and stir until it’s melted into the mixture. Microwave again for 4-8 minutes, depending on your microwaves wattage.
- Remove from the microwave. At this time, this mixture should be covered in bubbles. Quickly stir in the baking soda and vanilla extract. Now the mixture should be white and foamy.
- Immediately pour the mixture evenly between two non-greased baking sheets, and spread it quickly with a spatula into a thin layer, no thicker than the height of a peanut laying on it’s side. Allow the peanut brittle to cool for at least 30 minutes before cracking it into pieces.
Microwave times
- For a 900 watt microwave:
- Microwave the first time for 8 minutes.
- Microwave the second time for 8 minutes.
- After adding the butter, microwave for 4 minutes and 45 seconds.
- For a 1000 watt microwave:
- Microwave the first time for 7 minutes.
- Microwave the second time for 7 minutes.
- After adding the butter, microwave for 4 minutes and 15 seconds.
- For a 1200 watt microwave:
- Microwave the first time for 6 minutes.
- Microwave the second time for 6 minutes.
- After adding the butter, microwave for 3 minutes and 30 seconds.
- For a 1650 watt microwave:
- Microwave the first time for 4 minutes and 45 seconds.
- Microwave the second time for 4 minutes and 45 seconds.
- After adding the butter, microwave for 4 minutes and 45 seconds.
The wattage for your microwave will usually be printed on a label right inside the microwave door, next to the serial number and other information. If your wattage is different than that listed above, comment below with the wattage of your microwave and I will convert it for you and give you the correct times to microwave your peanut brittle.
I always recommend starting with 2 minutes during the third cooking time, after adding the butter. Then checking the temperature of the mixture with a candy thermometer, or instant-read thermometer. You want to reach a temperature of 300°F for the candy to be crunchy, but not burnt. After 2 minutes, if the candy is not up to temperature, continue to microwave the mixture for an additional minute, checking the temperature after each minute until it reaches 300°F.
Once you have the time down, based on your microwave, you don’t have to check the temperature each time. I simply recommend this the first time, because even using the chart above, microwaves vary and I want your peanut brittle to turn out perfect the first time!
Frequently asked questions
- Why does my homemade peanut brittle stick to my teeth? This is because you did not cook it long enough in the microwave. If the texture of the peanut brittle is sticky, and not crunchy, this means that you need to cook the mixture longer, until it reaches 300°F.
- Why didn’t my homemade peanut brittle get hard? Same answer as the question above. If your peanut brittle is not hardening, it’s because the sugar mixture did not get hot enough to properly caramelize, cool and become hard, crisp and crunchy. If you have this issue, next time, use a thermometer to make sure the peanut brittle mixture gets to 300°F.
- Why is my peanut brittle light colored? That’s because you did not heat the mixture up enough, and the sugars did not fully caramelize. This is what gives peanut brittle the beautiful golden brown color.
- Can you overcook peanut brittle? Yes! The caramelizing sugars can burn in the microwave, which will ruin your peanut brittle. Always follow the chart above, based on your microwave wattage, to make sure you don’t overcook the peanut brittle. Also, as soon as the sugar starts to burn in the microwave, you will immediately smell it. If you pull the mixture out quickly, you can potentially save the peanut brittle from being ruined. For this reason, I always recommend staying close to the microwave when making peanut brittle.
- Why does peanut brittle need baking soda? The baking soda adds air to the caramelized sugar, which helps the candy become more brittle, giving it the wonderful crisp texture that we all know and love.
- How long does peanut brittle last after you make it? Stored in an airtight container, at room temperature, prepared peanut brittle will last 6-8 weeks.
- How do you keep peanut brittle crisp? Always make sure it’s stored in a cool, dry place, and in an airtight container to keep it crisp.
Recipe tips
Follow these tips that I learned from Barb, and from making this recipe several times over the years, for perfect peanut brittle every time!
- Always use non-greased baking sheets to spread out and cool the peanut brittle. If you grease the baking sheets, the hot peanut brittle mixture will spread out too thin.
- When storing the peanut brittle, I recommend placing a piece of parchment paper between each layer. This will ensure that the pieces of peanut brittle don’t stick together and stay crisp while they’re stored in an airtight container.
- Always stay near the microwave while making this recipe. You want to remove the mixture as soon as each cooking time is complete, to stir it, and add the additional ingredients as quickly as possible.
- It helps to have two people to spread the mixture, one to pour, and one to spread. But I will say, I’ve made this recipe plenty of times on my own, and made it work. You just want to pour, then spread as quickly as possible, so it doesn’t start to cool while the mixture is too thick.
- The first time you make this recipe, I highly recommend checking the temperature several times during the last cooking time in the microwave, with a candy thermometer or instant-read thermometer. The perfect temperature for peanut brittle is 300°F. This is when it will hit the “hard crack stage” to make crispy, crunchy peanut brittle, that’s not overcooked. Once you know the timing for your microwave, you don’t have to check the temperature every time you make it.
More sweet treats
Try these other Bond family holiday favorites!
Peanut Brittle
Ingredients
- 2 cups raw peanuts
- 2 cups granulated sugar
- ¼ teaspoon salt
- 1 cup light corn syrup
- ½ cup unsalted butter
- 2 teaspoons baking soda
- 1 teaspoon vanilla extract
Instructions
- Combine the raw peanuts, sugar, salt and light corn syrup in a large glass bowl.
- Using a 1650 watt microwave, microwave for 4 minutes and 45 seconds. Refer to the notes section below if using a microwave with a different wattage.
- Remove the bowl from the microwave using oven mitts. Stir the mixture with a spatula, then microwave on high for another 4 minutes and 45 seconds, using a 1650 watt microwave.
- Remove the bowl from the microwave again, and add the butter. Stir until the butter is completely melted into the mixture.
- Microwave again for 4 minutes and 45 seconds using a 1650 watt microwave, or until the temperature of the mixture reaches 300°F, using a candy thermometer, or instant-read thermometer.
- Remove from the microwave. At this time, this mixture should be covered in bubbles. Quickly stir in the baking soda and vanilla extract. Now the mixture should be white and foamy.
- Immediately pour the mixture evenly between two non-greased baking sheets, and spread it quickly with a spatula into a thin layer, no thicker than the height of a peanut laying on it’s side.
- Let the peanut brittle cool for at least 30 minutes, or up to 1 hour, before breaking it into pieces.
Notes
- Follow the microwave times above for a 1650 watt microwave, follow the below times for a 900, 1000 or 12oo watt microwave.
- For a 900 watt microwave:
- Microwave the first time for 8 minutes.
- Microwave the second time for 8 minutes.
- After adding the butter, microwave for 4 minutes and 45 seconds.
- For a 1000 watt microwave:
- Microwave the first time for 7 minutes.
- Microwave the second time for 7 minutes.
- After adding the butter, microwave for 4 minutes and 15 seconds.
- For a 1200 watt microwave:
- Microwave the first time for 6 minutes.
- Microwave the second time for 6 minutes.
- After adding the butter, microwave for 3 minutes and 30 seconds.
- For a 900 watt microwave:
- The wattage for your microwave will usually be printed on a label right inside the microwave door, next to the serial number and other information. If your wattage is different than that listed above, comment below with the wattage of your microwave and I will convert it for you and give you the correct times to microwave your peanut brittle.
- I always recommend starting with 2 minutes during the third cooking time, after adding the butter. Then checking the temperature of the mixture with a candy thermometer, or instant-read thermometer. You want to reach a temperature of 300°F for the candy to be crunchy, but not burnt. After 2 minutes, if the candy is not up to temperature, continue to microwave the mixture for an additional minute, checking the temperature after each minute until it reaches 300°F.
- If your peanut brittle is not hardening, it’s because the sugar mixture did not get hot enough to properly caramelize, cool and become hard, crisp and crunchy. If you have this issue, next time, use a thermometer to make sure the peanut brittle mixture gets to 300°F.
- To make sure that your peanut brittle mixture does not burn in the microwave, always follow the chart above, based on your microwave wattage, to make sure you don’t overcook the peanut brittle. Also, as soon as the sugar starts to burn in the microwave, you will immediately smell it. If you pull the mixture out quickly, you can potentially save the peanut brittle from being ruined. For this reason, I always recommend staying close to the microwave when making peanut brittle.
- Stored in an airtight container, at room temperature, prepared peanut brittle will last 6-8 weeks. Always be sure it’s stored in a cool, dry place. I also recommend placing a piece of parchment paper between each layer. This will ensure that the pieces of peanut brittle don’t stick together.
- Always use non-greased baking sheets to spread out and cool the peanut brittle. If you grease the baking sheets, the hot peanut brittle mixture will spread out too thin.
Nutrition Facts
We are a participant in the Amazon Services LLC Associates Program, an affiliate advertising program designed to provide a means for sites to earn advertising fees by advertising and linking to amazon.com.










4 Comments on “Peanut Brittle”
My microwave indicates it’s 1.58 kW, so 1580 watts. Could you provide the times for me?
I’d love to be able to make peanut brittle without fussing with a candy thermometer! And yours sounds like just the thing.
Thanks so much.
Hi Lisa, I would microwave the first time for 5 minutes. Microwave the second time for 5 minutes. And after adding the butter, microwave for 2 minutes and 30 seconds.
Can’t wait to hear how it turns out!
What if microwave has 1100 wattage?
For the first time, microwave for 6 minutes and 30 seconds.
For the second time, microwave for 6 minutes and 30 seconds.
For the third time, after you add the butter, microwave for 4 minutes.